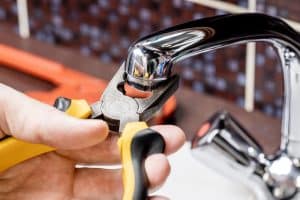
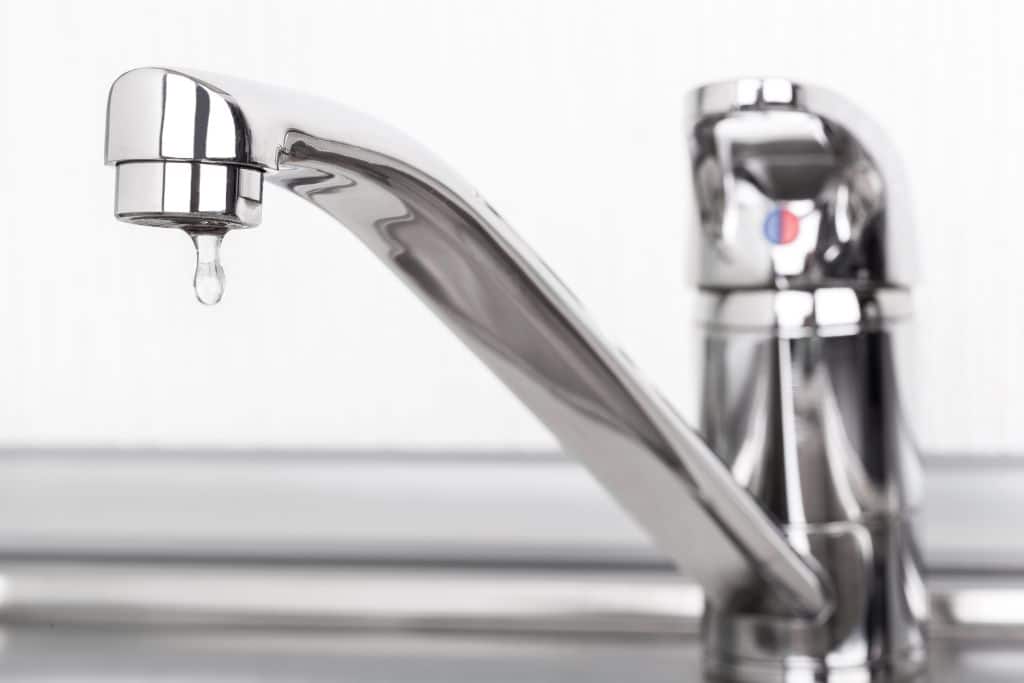
Having a leaking tap in your house can be frustrating. It wastes water, increases your water bill costs, and may disturb your sleep late at night if you are a light sleeper. Most of the time, a leak is caused by a damaged or worn-out tap washer. These tap washers create a watertight seal to prevent water from leaking out of the tap. An old washer will provide a weaker seal, which is why the leak occurs. Luckily, replacing a tap washer is a task you can do. Here is a simple guide on how to change your tap washers.
Make Preparations
Before you start working on your tap there are a few things you need to do. First off, you need to make sure you have the right tools for the job. Without the right tools, you may damage the tap or worsen the leak. A flat-head screwdriver and a spanner are all that is needed.
Next, you need to turn off the water in your house. Locate your water main meter (usually placed in your front yard) and turn it off. Allow your taps to run for a minute or so after turning them off to remove the excess water and pressure.
Lastly, plug your sink’s drain with a cloth or small rag to ensure that you don’t lose any pieces if you accidentally drop them. You can also cover the whole basin with a towel to avoid damaging it.
Take Apart Your Tap and Install the New Washer

The process to dismantle your tap depends on the brand and build of the tap you have installed. The process is similar among all the different types, however. Bear in mind that you will have to repeat this process backwards after putting in the new washer. You can take photos or (if you have someone helping you) video yourself, so you don’t forget how you did it.
Firstly, remove the cover of the tap using your screwdriver. Be careful not to let it fall off once removed as it may damage it. Wrap a towel or cloth around it first if you are concerned. If you can now see the valve, you removed the cover correctly.
Next, use your spanner to remove the valve. The tap may move whilst removing it, so you should hold onto it while turning with the spanner. Once the valve is removed, the washer will be exposed. Use your spanner again to take out the washer (it will be held in place most likely by a nut). If it is too rigid, put some penetrating oil onto the washer and wait a moment before trying again.
Now, place your new washer in the same spot as the old one.
Put Your Tap Back Together and Test It
After putting in your new washer, proceed to repeat the previous steps in reverse order. If you can’t remember how you did it, use your photos for reference or re-read the previous section. Make sure you don’t overtighten anything when putting it back together as this may damage the parts and cause the tap to leak again.
Now, remove the towel and rag from your basin and turn your water main meter back on. Turn your tap on and make sure it is not leaking anywhere. If it does, you will need to turn your water off and dismantle the tap again. You may not have tightened something enough or correctly.
Conclusion
You have now successfully changed your tap washers and stopped your tap from leaking. If down the line your tap leaks again or you are not confident in your ability to work on the tap yourself, contact an experienced plumber to do it for you.


