


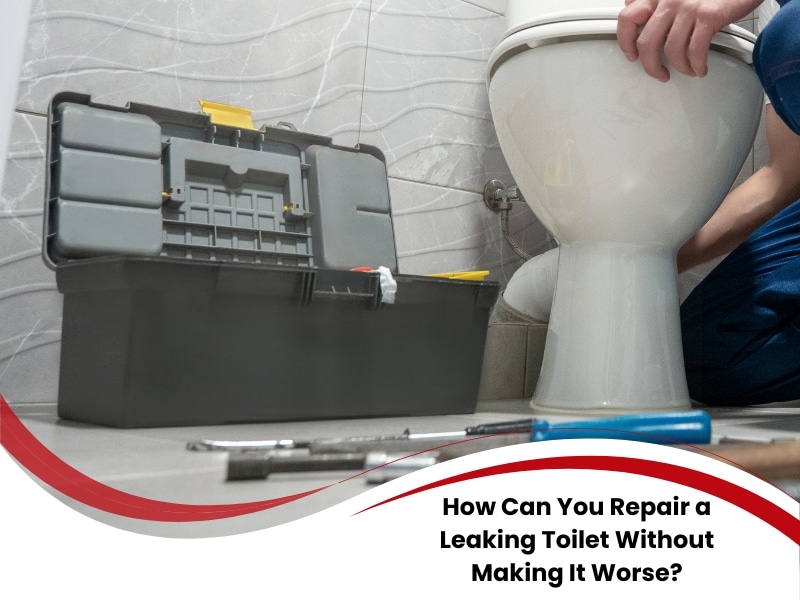
How Can You Repair a Leaking Toilet Without Making It Worse?
You repair a leaking toilet by tracing where the water is escaping, matching the fault to the component, and fixing the cause in the correct order. Because rushing the job can split brittle fittings, the more brilliant move is a calm, step-by-step plan that balances safe DIY checks with timely professional help. If you’ve been trying to figure out how to repair leaking toilet, you’re already taking the smart first step to prevent water damage, stop odours, and keep your bills under control. For a start, confirm whether the leak is from clean water or wastewater, then work from the cistern to the base. Meanwhile, resist the temptation to overtighten everything; misalignment is a common culprit. This article shows you how to diagnose, prioritise, and resolve leaks without turning a minor fix into a big job.
Why do toilets start leaking in the first place?
Toilets start leaking when seals perish, fasteners loosen, or the pan shifts slightly and breaks the collar seal. Because Sydney homes experience small building movements and variable water pressure, worn components can snowball quickly if ignored and blow cash down the gurgler.
When repairs are sequenced correctly, they stay cost-effective over time. Plumbing experts from Apex Plumbing Services often note that understanding why leaks occur is the first step to repairing leaking toilet systems before the issue worsens. Here are the root causes:
- Worn rubber seals: Rubber hardens from chemicals and age, creating tiny pathways for water.
- Loose cistern bolts: Compression washers flatten, allowing drips down the tank sides.
- Rocking pan: Even a slight wobble crushes the pan collar with every flush.
- Mis-set water level: Overfilling pushes water into the overflow and onto fittings.
- Corroded fixings: Rusted bolts and olives lose clamping force and start weeping.
- Hairline cracks: Thermal shock or impact can form microcracks that leak under pressure.
For context on how drainage issues intersect with fixture leaks, compare approaches alongside efficient drain and toilet repair services in Sydney. In short, understanding the cause stops repeat leaks; once the base is steady and levels are set, you’re far less likely to see trouble again.
What are the hidden signs you need to repair a leaking toilet immediately?
Hidden leaks rarely shout. Instead, they hiss, stain grout, swell skirting boards, and nudge bills north. Because early detection means water bills drop, listening and looking closely saves no end of hassle. Here are the urgent warning signs:
- Random hissing: The inlet valve briefly tops up when the outlet seal weeps.
- Dye in bowl without flushing: Food colouring in the cistern appears in the bowl.
- Damp at base after flush: Tissue around the pan edge darkens slightly.
- Musty odours: Moisture under tiles encourages mould and mildew.
- Wobble test fails: A slight rock hints at a flattened or torn collar.
- Refill every few minutes: The float shuts late, or debris sits on the outlet seat.
Act fast when these signs appear. In practice, a quick isolation, dry-down, and test avoids more significant damage. With the proper checks, you move from guesswork to clarity—no dramas.
What plumbing problems can arise if a leaking toilet isn’t repaired quickly?
Left alone, leaks creep under tiles, rot subfloors, and corrode fixings. As a result, even a “slow” leak escalates to repairs that bite the budget and extend downtime. Delay also increases the risk of damage to adjacent rooms. Here are the downstream problems:
- Subfloor rot: Swollen particleboard loses strength and warps tiles.
- Corrosion chain reaction: Rusted bolts seize and shear during later work.
- Mould growth: Persistent humidity affects indoor air and causes odours.
- Hygiene concerns: Failed collars can let wastewater escape during flushes.
- Paint and plaster damage: Damp patches spread beyond the bathroom.
If you’re renting or coordinating maintenance, factor in the official NSW government advice on managing home repairs. Ultimately, faster action protects the structure and keeps the bathroom usable—no worries.
How do licensed plumbers in Sydney professionally repair a leaking toilet?
Professionals follow a structured routine: isolate the water, inspect from the cistern to the base, replace worn components with compliant parts, then test under real pressure. Because sequence matters, each step prevents knock-on issues and delivers a cleaner, safer bathroom. Here are the professional steps:
- Isolate and protect: Turn off the stop tap, drain the cistern, and cover the flooring.
- Inspect and measure: Check water level, float action, outlet seal seating, and pan stability.
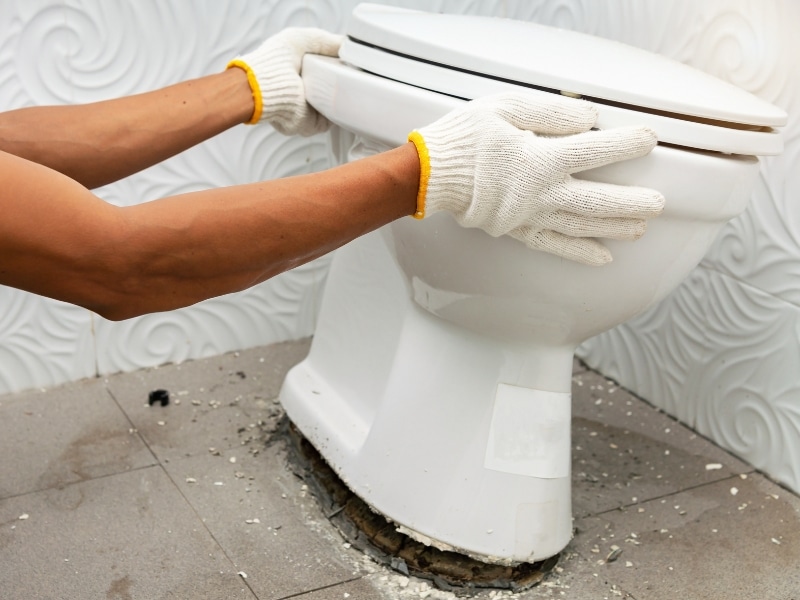
- Replace and align: Fit new inlet/outlet valves, level the pan, and renew fixings and seals.
- Seal and secure: Re-fit the pan collar, torque the bolts evenly, and confirm there is no wobble.
- Test thoroughly: Run multiple flushes, dye-test, and recheck after pressure stabilises.
For a detailed, methodical approach to guide your decision-making, consider a reliable plumbing method for repairing a leaking toilet correctly. With testing locked in, your repair avoids repeat call-outs and stays steady through daily use.
Which parts are most commonly replaced when repairing a leaking toilet?
Most leaks trace back to high-wear parts: inlet valves, outlet valves, seals, and the pan collar. Because these components work on every flush, refreshing them together keeps costs down over time and reduces rework.
Informative table: standard parts, symptoms, and difficulty
| Part/Seal | Symptom you notice | Quick test | Replacement difficulty |
| Fill valve/inlet valve | Random hissing and refills | Lift float; if the noise stops, the seat is worn | Easy–Moderate |
| Outlet valve/flapper | Colour leaks into the bowl without flushing | Dye test in the cistern | Easy |
| Pan collar (wax/rubber) | Water at base; pan movement | Rock test; tissue around base | Moderate |
| Cistern bolts & washers | Drips under tank corners | Dry tank, refill, watch bolt heads | Easy |
| Inlet hose/olive | Damp under cistern; spray when disturbed | Tissue wrap test | Easy |
| Hairline crack (pan/cistern) | Persistent mystery leak | Bright light, mirror inspection | Hard—replace fixture |
Here are the parts to replace:
- Inlet valve kit: Modern float valves handle pressure swings better than old ballcocks.
- Outlet valve seal: A new seat and seal stop silent losses into the bowl.
- Pan collar: A fresh rubber or wax collar restores a watertight base after levelling.
- Cistern bolt set: New stainless or brass hardware resists corrosion and compresses evenly.
- Shut-off tap (if seized): Smooth isolation makes future maintenance quick and tidy.
For deeper symptom spotting across Sydney home setups, compare notes with frequent toilet repair issues homeowners should know. With parts refreshed, you move from temporary patches to durable fixes.
How does fixing a faulty toilet cistern prevent future leaks?
A tuned cistern stabilises water levels and pressure loads, protecting seals and the pan collar. Once levels are correct and seats close cleanly, there’s less chance of mould and fewer surprises on the water bill. Here are the cistern tune-up actions:
- Set the water line: Aim 20–25 mm below the overflow top for consistent fills.
- Replace the inlet washer and seat: Pairing parts helps the valve shut crisply.
- Square the outlet seal: Ensure the seal sits flat and debris-free on the seat.
- Service isolation: Replace a stiff stop tap to simplify future work.
- Confirm overflow height: Prevent run-on if the inlet sticks during the night.
Dialling in the cistern means fewer fluctuations hitting the base seal. In short, preventive tuning keeps performance steady without fussing with the tools.
Final thoughts on preventing future toilet leaks through timely repair
Preventive checks beat emergencies every time. A monthly two-minute routine—listen for hissing, rock the pan gently, run a dye test—catches trouble before it’s on the cards. If notes point to movement, fix stability first, then refresh seals and re-test. When coordinating work or timing parts, you can map next steps and expectations, learn how Apex Plumbing Services ensures lasting plumbing solutions, keeping plans tidy and outcomes reliable.
")
")
")
